
If you are having trouble booting or using your PC, you may need to boot in to some sort of recovery environment to enable you to either fix the problem, or at least recover your data.
Windows 8 has a handy little recovery system that can be stored on a USB stick, and will make getting a troubled system up and running again a simple process – For this article you will need a USB memory stick of at least 256MB, the stick will be erased as part of the process so make sure there aren’t any files on it you want to keep.
- Insert the USB drive you want to use in your computer
- Press the Windows key + W
- Type ‘recovery drive’ in the search box.
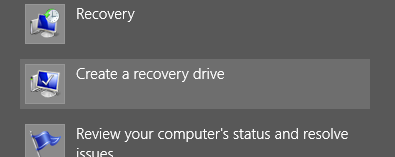
- Click ‘Create a recovery drive’ (The User Account Control dialog box will appear, Click ‘Yes’. If you are using a standard account, you will need to enter the Administrator credentials as well)
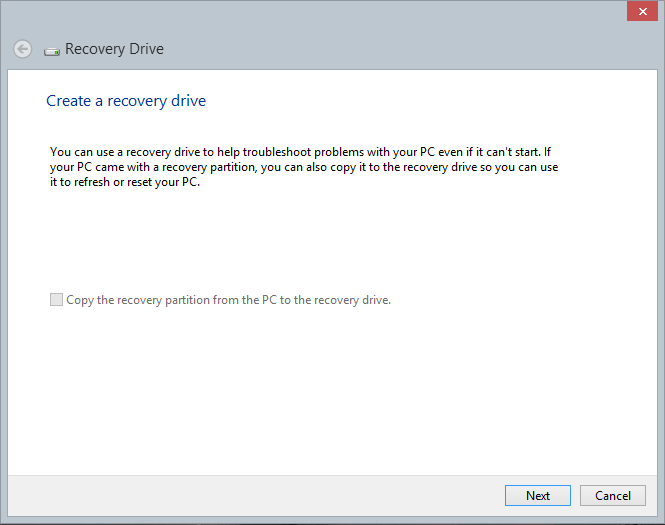
- You will see the screen below, warning you of the consequences, you also you have the ability to copy the backup partition, if your PC manufacturer has installed a backup partition on your hard drive then we recommend including this if your stick is big enough as it may prove useful in restoring your system back to factory condition in the event of a total hard drive failure. once you have made your choice, click Next
- Select the appropriate drive to use (if it’s not already selected)
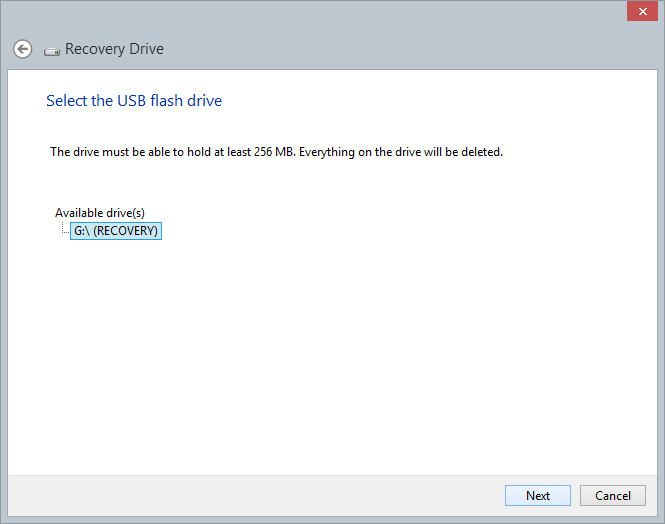
- Click Next
- Read the warning about erasing the drive, and click Create.
- The wizard will format the drive and copy the recovery tools to it, when it’s done click ‘Finish’
Lastly, check that the recovery drive has been created successfully by testing it – boot your PC from the stick and make sure you are able to access the recovery tools.