
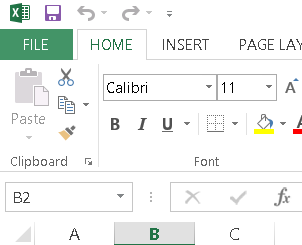
Saving Workbooks is one of the fundamentals that every Microsoft Excel user needs to know.
Once you have created some data in your workbook or worksheet you will almost certainly want to save it for future reference, or to come back to it at a later date to make additions / alterations.
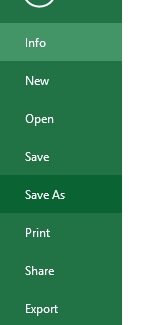
1. Once you have data to save click the ‘File‘ tab, and then select the ‘Save As‘ option.
 2. Once you have selected the ‘Save As’ option you will see a screen similar to the one below. In the middle column you will see various places that you can save to such as OneDrive cloud storage, local drive, or even a network drive.
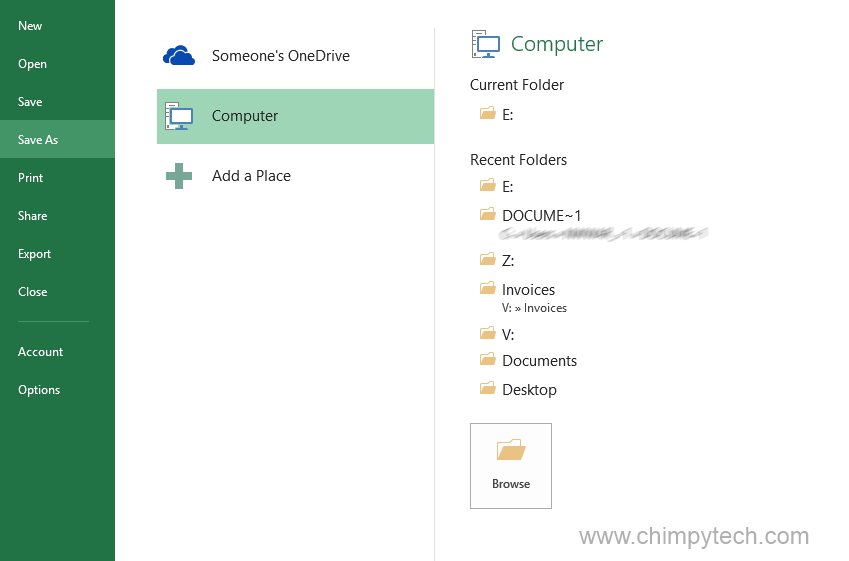 3. Now that you have selected a location in the middle column, the far right column will change to show which drives and folders you have recently saved to – simply select one that is appropriate, or click the ‘Browse‘ button to navigate to a new location.
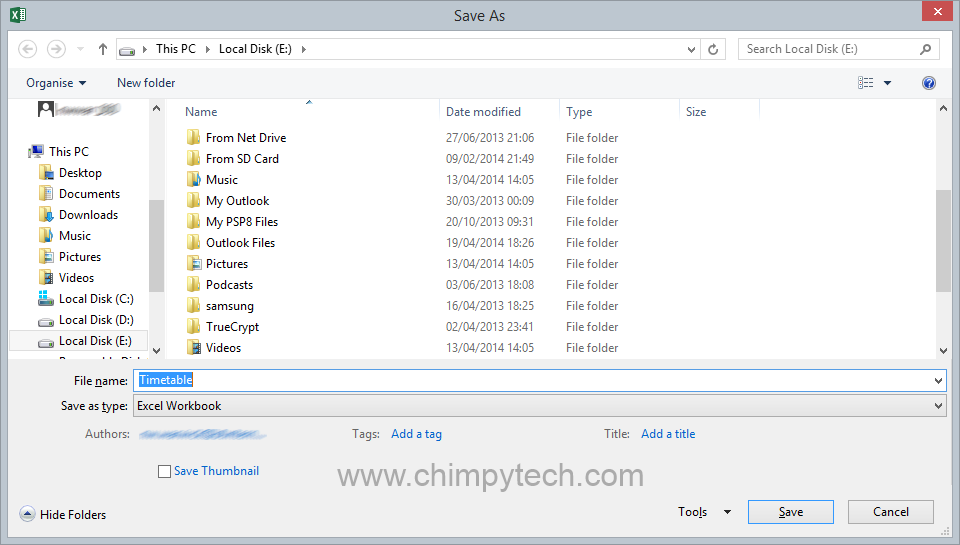 4. Now that you are in to the ‘Save‘ dialog box all you will need to do is give your Workbook a name in the ‘File name‘ field and click the ‘Save‘ button.
If you wish to change the type of Workbook you want to save click the ‘Save as type‘ drop down selector and choose the appropriate option, this can be useful if you wish to save in an older Excel format because you are sending it to someone who doesn’t have the latest version of Excel.