
If you’re the sort of person who frequently takes screen shots to send to other people or to use as storage and archiving then you will almost certainly have come up against the palaver of having to hit the ‘Print Screen’ key on your keyboard, open an image editing program, pasting in the image from the clipboard, and then saving it to a known location.
Now with Dropbox the whole process can be completely automated, before you start you will need to have a Dropbox account, and have the desktop application installed. (To do this visit ww.dropbox.com and get everything you need set up)
Once you have the account set up and the desktop application installed, run through the following procedure.
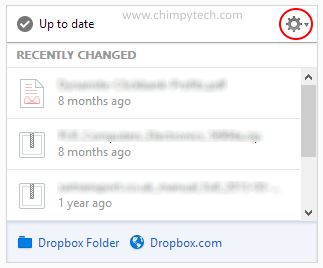
Click on the Dropbox icon in the system tray
![]() In the pop-up windows click on the small ‘gear’ icon
In the pop-up windows click on the small ‘gear’ icon
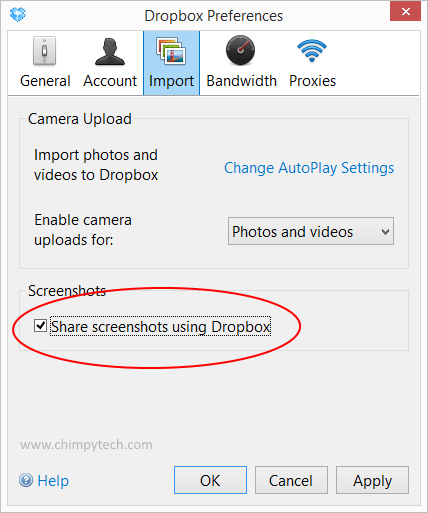
 Once the Preferences screen appears select the ‘Import’ tab, and make sure the ‘Share screenshots using Dropbox’ option is selected. Now when you hit the ‘Print Screen’ button the screen dump will be sent straight to the ‘Screenshots’ folder on your Dropbox drive.
Note – If you are installing Dropbox from scratch then this option will almost certainly be enabled from the time you install. When you create your first screen shot a dialog will pop up asking you to confirm that you want to save future screen shots to Dropbox.
If you have had Dropbox installed for some time then this option may not be enabled so you will need to follow the procedure above to activate.