An Introduction To Macros And VBA
Excel is a great application for manipulating numbers, and creating calculated results based on different sets of data.
One of the most powerful and useful features of Excel is the ability to create macros, which are small ‘programs’ which repeat a pre-programmed series of commands to achieve a specific result.
Associated with macros is VBA (Visual Basic for Applications) which is a modified version of Microsofts popular programming language that focuses specifically on the features of the application for which the program is being developed.
The thought of program writing is likely to scare off all but the most dedicated of Excel users which is where macros come into play, as they are really VBA programs that a user has written by recording various keystrokes and commands.
When would I use a macro?
Macros are ideal when you are presented with similar situations that always need the same course of action to be applied, and the best way to illustrate this is with an example:
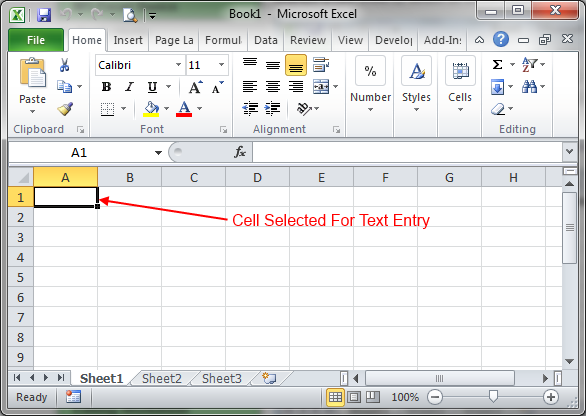
- Open a new workbook, and select Sheet1.
- In column A enter 10 different Christian names on the first 10 rows
- In column B enter 10 different surnames (one for each Christian name)
- In column C enter 10 different ages (one for each person)
- Now select ‘Tools’ –> Macro –> Record New Macro
- You will be presented with a dialog box asking you to give your macro a name, and asking you where you want to store it, call your macro “SortByChristianName” (You are not allowed to spaces in macro names), and for ease, leave the option selected to store this macro with the worksheet. You can also give your macro a description to help you can remember what it does later, when you’re finished click ‘OK’

- You are now recording a macro, and everything you do on screen will be recorded for future playback.
- Depending on how your installation of Excel is set up you may a see a small box appear on screen like the one below.

- This is the macro control box, clicking the solid blue square button will stop recording of the macro.
- Now click on cell A1 to select it, and highlight the whole range down to C10.
- Now select ‘Data’ –> Sort.
- When you are presented with the sort dialog, click on the first sort criteria drop down box, and select ‘Column A’ (Make sure the ‘No Header Row’ option is selected at the bottom of the dialog).
- Select the radio button to ‘sort ascending’ and then click OK, your data will be sorted by Christian Name
- Now select ‘Tools’ –> Macro –> Stop Recording Macro. (Or click the blue square in the macro control box)
Repeat Steps 5 to 14 above, but this time call your macro “SortBySurname” and select column ‘B’ as the sort column.
Again Repeat Steps 5 to 14, but this time call your macro “SortByAge” and Select column ‘C’ as the sort column
You will now have three macros that you have created to perform different sorting options on your worksheet.
To use a macro select ‘Tools’ –> Macro –> Macros (Or press Alt +F8) where you will be presented with a dialog box listing available macros, select the one you want and then click ‘Run’ to sort your data.

Congratulations – you have just created your first macros, and also your first pieces of VBA code. Save the small workbook you have created as you will need it in later parts of this series.