Recovering Microsoft Office Documents
As any regular user of any program in the Microsoft Office 2013 suite will testify it’s very easy to accidentally close a document without having first saved, and in the process lose what can potentially be hours of work. Of course we all talk the talk telling people to save, save, save as frequently as possible, but how many of us actually put that in to practice. Recovering Microsoft Office documents that you haven’t saved is very easy, so long as you do a little work up front and set up your safety net
Fortunately Microsoft have our backs with a handy Auto-recover feature built in to most Office 2013 programs, but you will have to do a little work to get it running first, as it’s not actually activated by default.
Activate AutoSave and AutoRecover
Before you can make use of the the AutoRecover feature you will need to first have set it up on your Office 2013 installation. This can be achieved using the following procedure.
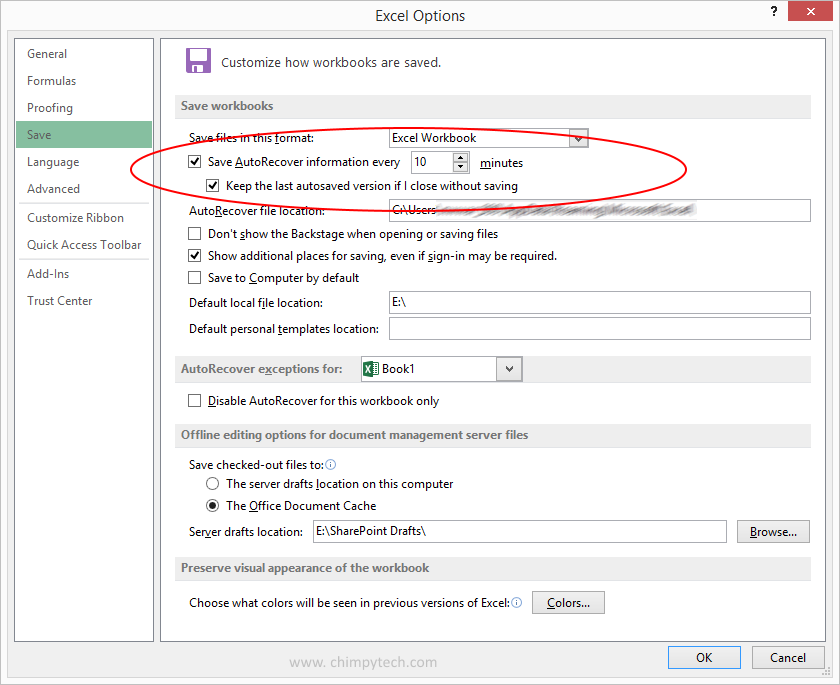
- Select the File tab
- Under the the Help section click Options
- Click Save
- Ensure the ‘Save AutoRecover information every x minutes’ check box is ticked, and a number is entered in the box.
- Ensure the ‘Keep the last autosaved version if I close without saving’ check box is selected.
Now, your Office 2013 program will automatically save a copy of your Workbook at the interval prescribed above – be careful though, making the interval too short can cause your computer to run in a sluggish manner, but making it too big may result in insufficient backups being created.
Note – This feature and it’s options are independently set for each Office application, so if you use multiple Microsoft Office programs such as Word, Excel, PowerPoint etc then you will need to set them in each program.
Retrieving Auto-Recover backups
Of course, it’s no good making these backups if you don’t know how to get them back.
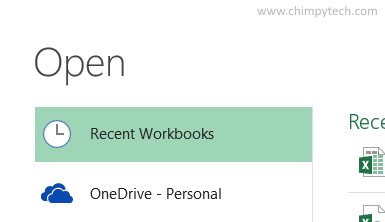
- Open the Office 2013 Application you were using
- Click the ‘File’ tab
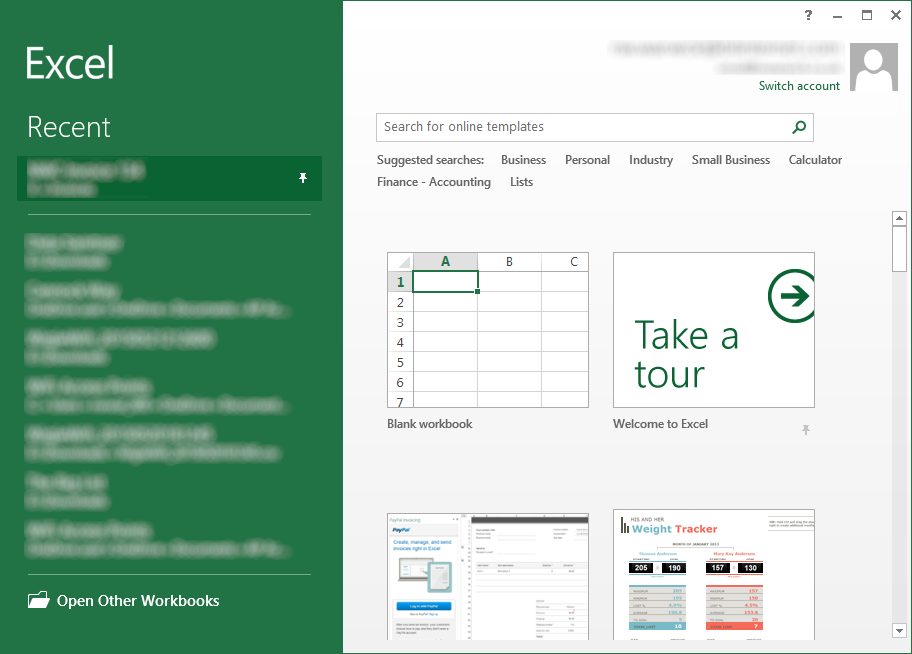
- Click ‘Recent’
- In the bottom right of the dialog you will see an option to Recover Saved Workbook (if you’re using Word or PowerPoint it will say ‘Documents’ or ‘Presentations’)
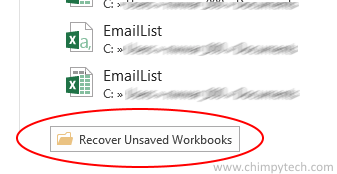
- Your Auto-Saved Drafts folder will now open, simply select the file you want and click on OK to open it up in to the appropriate program.
Now all you need to do is save it in the usual manner and you can continue working on it.