Windows 10 – Connect To Wireless Network
Nearly everyone these days connects their computer (laptop or desktop) to the internet via a wireless network, especially in the home.
Connecting to a wireless network is easy when you know how, but isn’t that obvious for those connecting for the first time. This rather short tutorial will show you how.
Firstly make sure that your wireless adaptor whether built in or external is connected and switched on. Due to the vast array of hardware it’s beyond the scope of this tutorial to cover this for specific hardware.
To find the ‘Connect to Wireless Network’ icon, move the mouse to the taskbar and click to arrow to expand the notification area as shown in the picture below.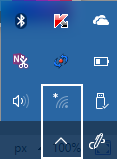
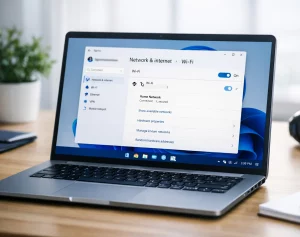
Next you will see a list of wireless networks within range of your device. Click on the network you want to connect to.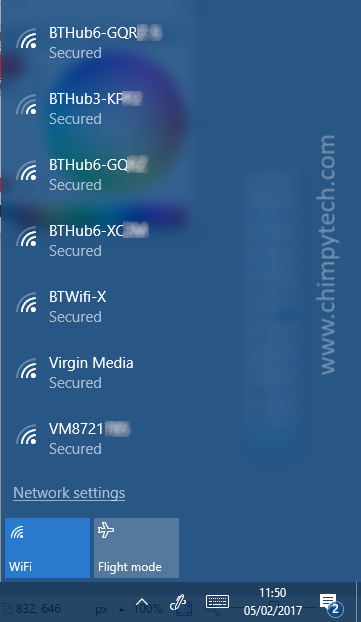
Next you will see a dialog asking if you wish to connect automatically. If you want your device to always connect when in range of this network, tick the box.
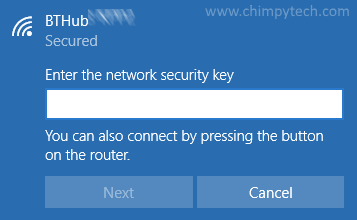
If the network you want to connect to requires a password to connect, enter it when prompted.
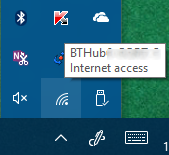
Once the wireless network has accepted the password you will be connected to the network. The radar symbol will change to be like the one in the picture below. Hovering the mouse over the radar symbol will show the name of the wireless network you are connected to.