Change The Folder Icon In Windows 10
 The overall appearance of Windows hasn’t changed too much since the days of Windows XP, but there are many different ways to customise your installation to make it unique to you, and one of these is to change the folder icon for selected folders to something unique rather than the standard yellow folder that we have all become accustomed to over the years.
- Navigate to the directory containing the folder you want to change.
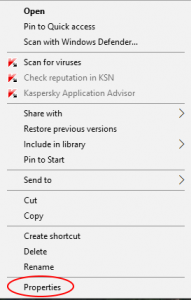
- Right click the folder and select the option ‘Properties’ from the context menu.
- Open the ‘Customize’ tab in the properties dialog box.
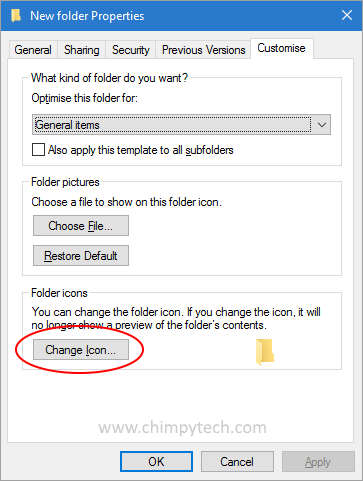
- Click the ‘Change Icon’ button, and you will see a selection of icons to choose from.
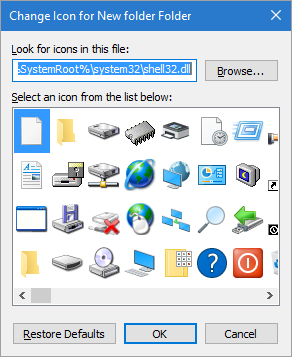
- Select the one you want and click ‘Apply’ to make your new icon active for this folder.
Note – At step 4 Windows will present you a list of icons from its default icon location, many different .dll files have icon sets in them that you can use for customisation, there are some nice icons in \windows\system32\imageres.dll which is where we found the blue folder icon for this tutorial. but by browsing other files you may be able to find something else you like.
If you change from the standard set of icons be warned that if the source of your icons is moved or deleted, Windows will revert the icon back to its default setting.