How To Delete Office Metadata From Documents
Before you distribute any Microsoft Office Documents you have created it is very important that you delete Office metadata to maintain your privacy.
When you create or edit a document with Microsoft Office, there is a whole host of potentially identifiable information stored as part of the document which for some users may constitute a privacy concern.
The presence of this information is not widely known amongst Office users, but fortunately it is easily removed using the tools built in to the Office suite of products, and you will almost certainly want to remove this information if you are creating a document for public distribution or publication.
What types of information could the document contain?
- Author
- Subject
- Title
- Creation date
- Last Modified date
- How long the document has been worked on
- The name of any template you used while creating the document
- Email headers, and other related information.
- Other selected information
The procedure below will cover removing the metadata for Office 2007, Office 2010, and Office 2013, whilst the procedures are broadly similar, there are some very slight differences between versions, but we covered them as part of the tutorial.
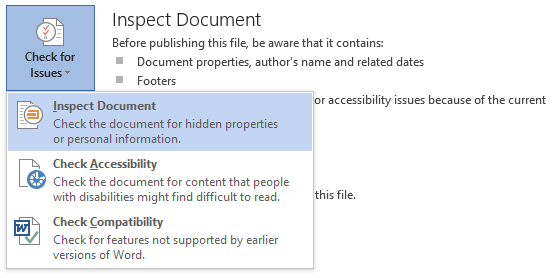
Office 2007 – Click the Office orb on the ribbon, select ‘Prepare‘ and click on ‘Inspect Document‘.
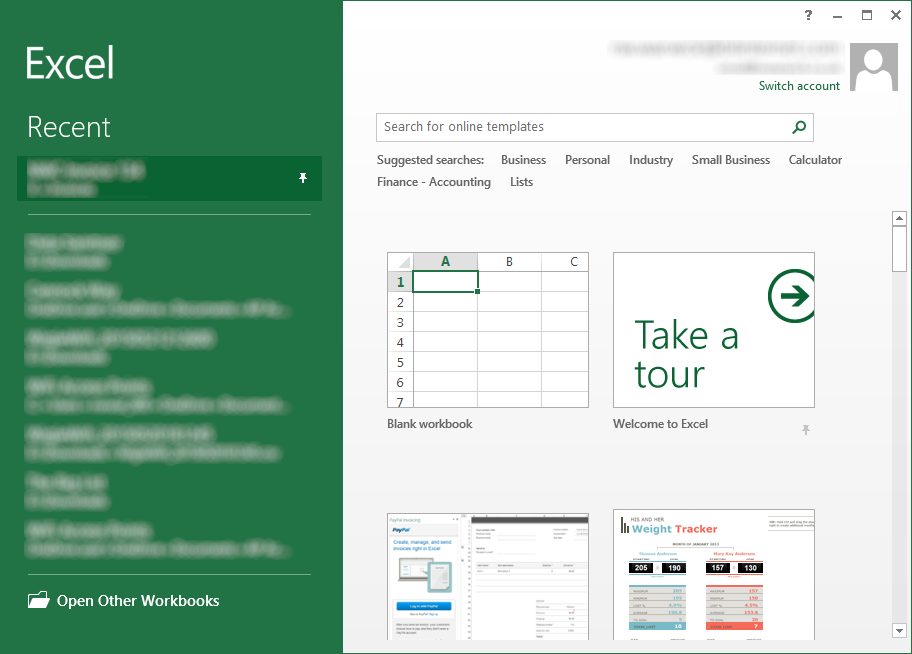
Office 2010 / 2013 – Click the File menu, select Info and the Inspect Document tool will be immediately presented.
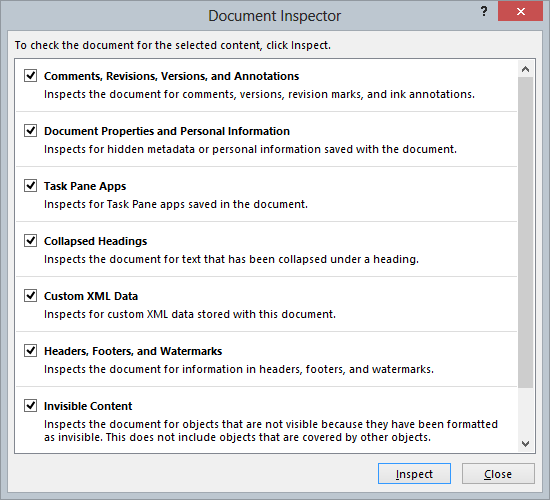
Once the document Inspector is opened you will see a screen like the one below, which will list all the types of metadata that could have been stored with your document – By default the Document Inspector will select all possibilities for inspection, however, if you don’t want to include a property for any reason simply de-select it and then click ‘Inspect‘
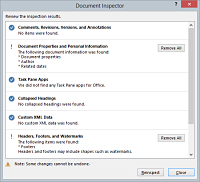
Scanning your document should only take a few seconds, and once completed you will see a small report detailing the various pieces of metadata that are included with your document.
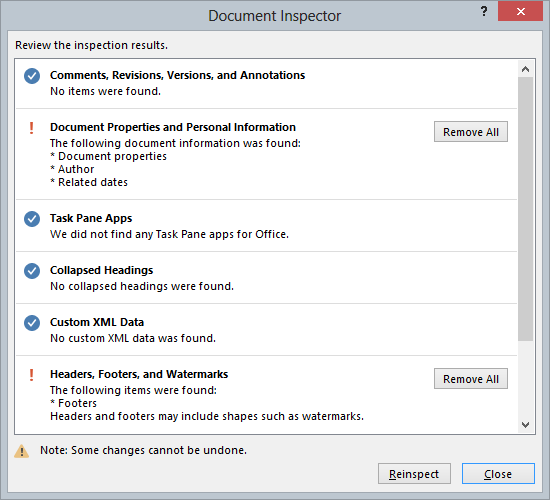
If the report finds metadata then there will be a ‘Remove All‘ button next to the property containing the data – to remove the metadata simply click the button as many times as necessary. Once you have cleaned your document click the ‘Reinspect‘ button to be sure all the metadata has been removed.