Securely Erase a Hard Drive Using Linux Tools
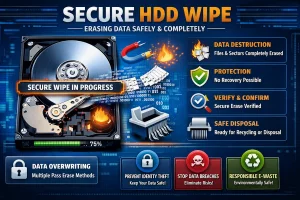
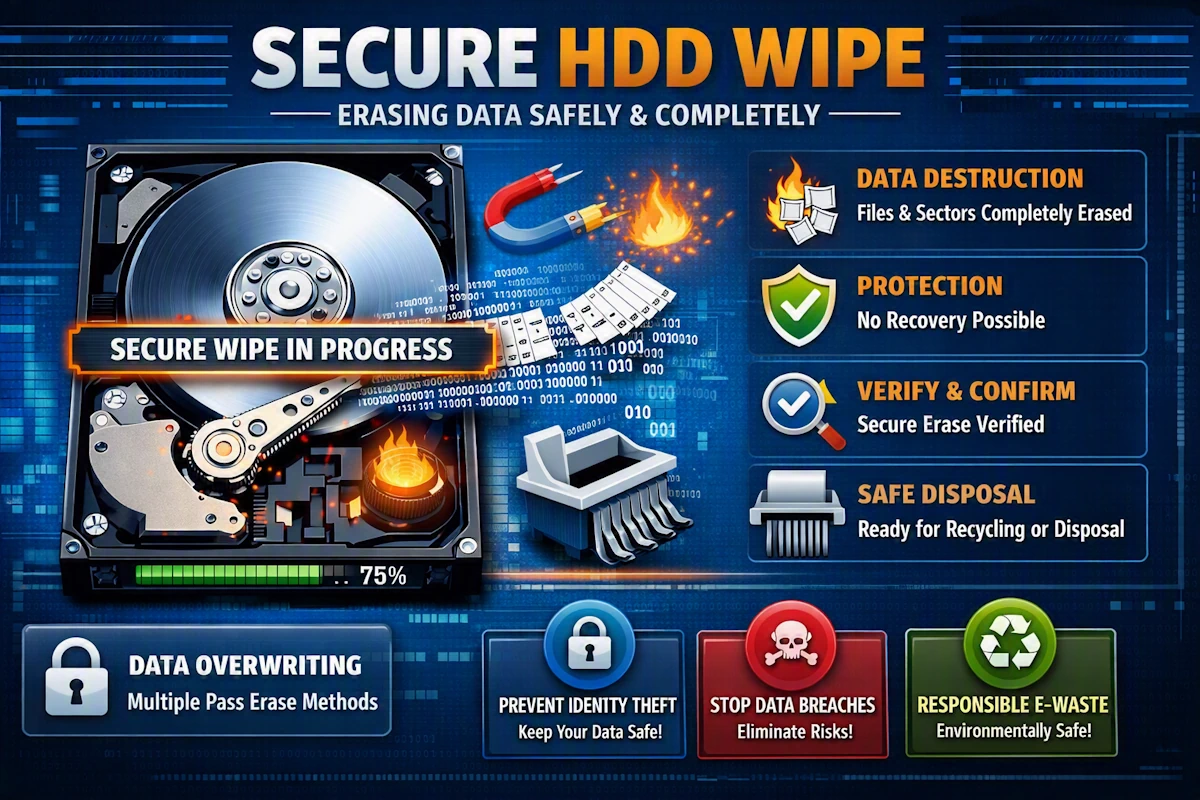
Linux includes powerful, built‑in utilities that can be used to securely erase a hard drive without installing extra software. The safest options are shred, dd, and blkdiscard, each suited to different drive types. The right choice depends on whether you are wiping a traditional spinning HDD or a modern SSD.
Why secure erasure matters
When you delete files or format a drive, the underlying data often remains recoverable. Secure erasure overwrites or discards the data so it cannot be restored with forensic tools. This is essential when recycling a PC, selling a drive, or removing sensitive information.
Before you start
- Back up anything important because these steps permanently destroy data.
- Identify the correct drive to avoid wiping the wrong one.
- Unmount the drive so Linux can access it safely.
- Using the command prompt – the tools here are all accessed using the command prompt, so make sure you are comfortable working that way.
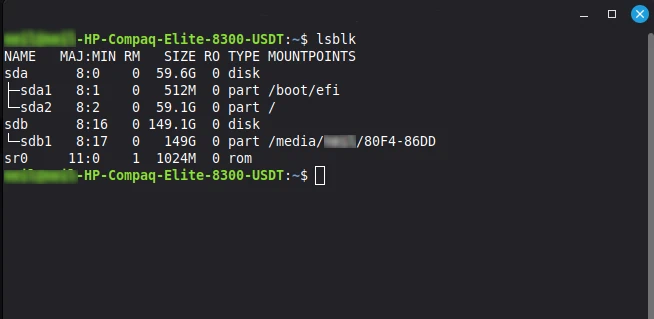
Open a Command Prompt and find your drives with:
lsbklLook for entries like ‘/dev/sda’ or ‘/dev/sdb’ or ‘/dev/nvme0n1’ depending on your drive type and then make a note of what’s returned.
Option 1: Securely erase an HDD with shred
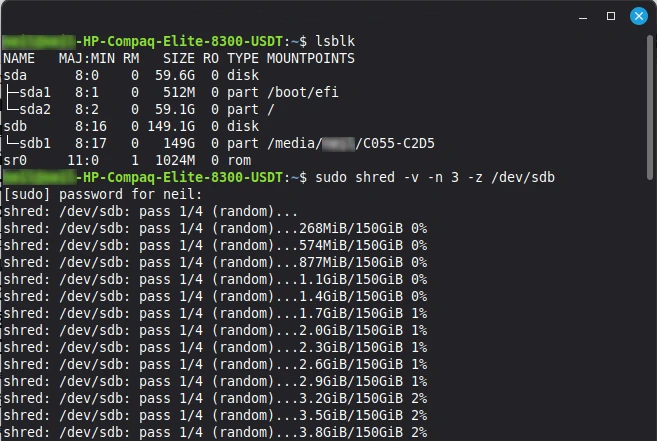
The ‘shred’ overwrites the entire disk with random data. This is therefore ideal for traditional spinning hard drives.
Command
sudo shred -v -n 3 -z /dev/sdXWhat the flags mean
- -v shows progress
- -n 3 performs three overwrite passes
- -z writes zeros at the end for a clean finish
- Replace /dev/sdX with your actual drive, for example /dev/sdb
When to use it
- Best for HDDs
- Effective against most recovery attempts
- Slower on large drives
Option 2: Overwrite a drive with dd
dd writes data directly to the disk. It is simple and reliable, although it does not randomise data unless you specify a random source.
Command
sudo dd if=/dev/zero of=/dev/sdX bs=1M status=progressWhat this does
- Writes zeros across the entire drive
- Works on HDDs and also on older SSDs
- Faster than shred but less secure for SSDs due to wear‑levelling
More secure variant
sudo dd if=/dev/urandom of=/dev/sdX bs=1M status=progressThis uses random data, but it is slower.
Option 3: Securely erase an SSD with blkdiscard
Modern SSDs use wear‑levelling; as a result, overwriting tools cannot guarantee full erasure. The correct method is to discard all blocks using the built‑in SSD controller.
Command
sudo blkdiscard /dev/nvme0n1or for SATA SSDs:
sudo blkdiscard /dev/sdXWhy this is best for SSDs
- Instantly discards all blocks
- Works with the SSD firmware
- Restores the drive to a clean state
Requirements
- The drive must support the discard operation
- The partition must be unmounted
Option 4: Use the drive’s built‑in secure erase (NVMe only)
NVMe SSDs include a hardware‑level secure erase that resets the drive to factory condition.
Check NVMe status
sudo nvme listRun secure erase
sudo nvme format /dev/nvme0n1 -s 2Mode 2 performs a secure erase using the controller.
Verifying the result
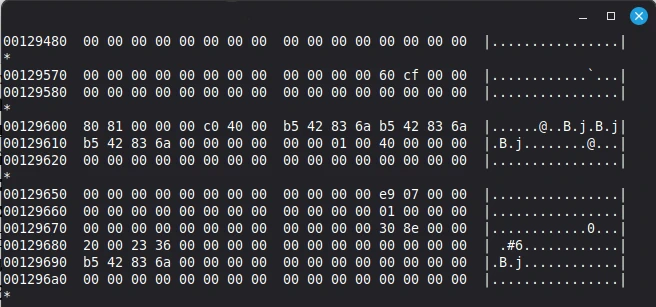
After wiping, no matter what option you use, check the drive with:
sudo hexdump -C /dev/sdX | headYou should then see zeros or random data depending on the method used.
Safety checklist
- Confirm the correct drive with lsblk
- Unmount all partitions
- Disconnect other storage devices to avoid mistakes
- Use blkdiscard or NVMe secure erase for SSDs
- Use shred or dd for HDDs
It takes time to securely erase a hard drive
Erasing a drive securely isn’t a quick process. If you’re connecting your drive via USB, use the fastest port possible. For instance, erasing a 160gb HDD using a USB2.0 port took us around 6 hours using the ‘shred’ command above. Connecting the same drive to a USB3.0 port on the same computer consequently cut the time down to around 3 hours.
For more great Linux tips visit our Linux index page