Windows Update Problems and Fixes in Windows 11
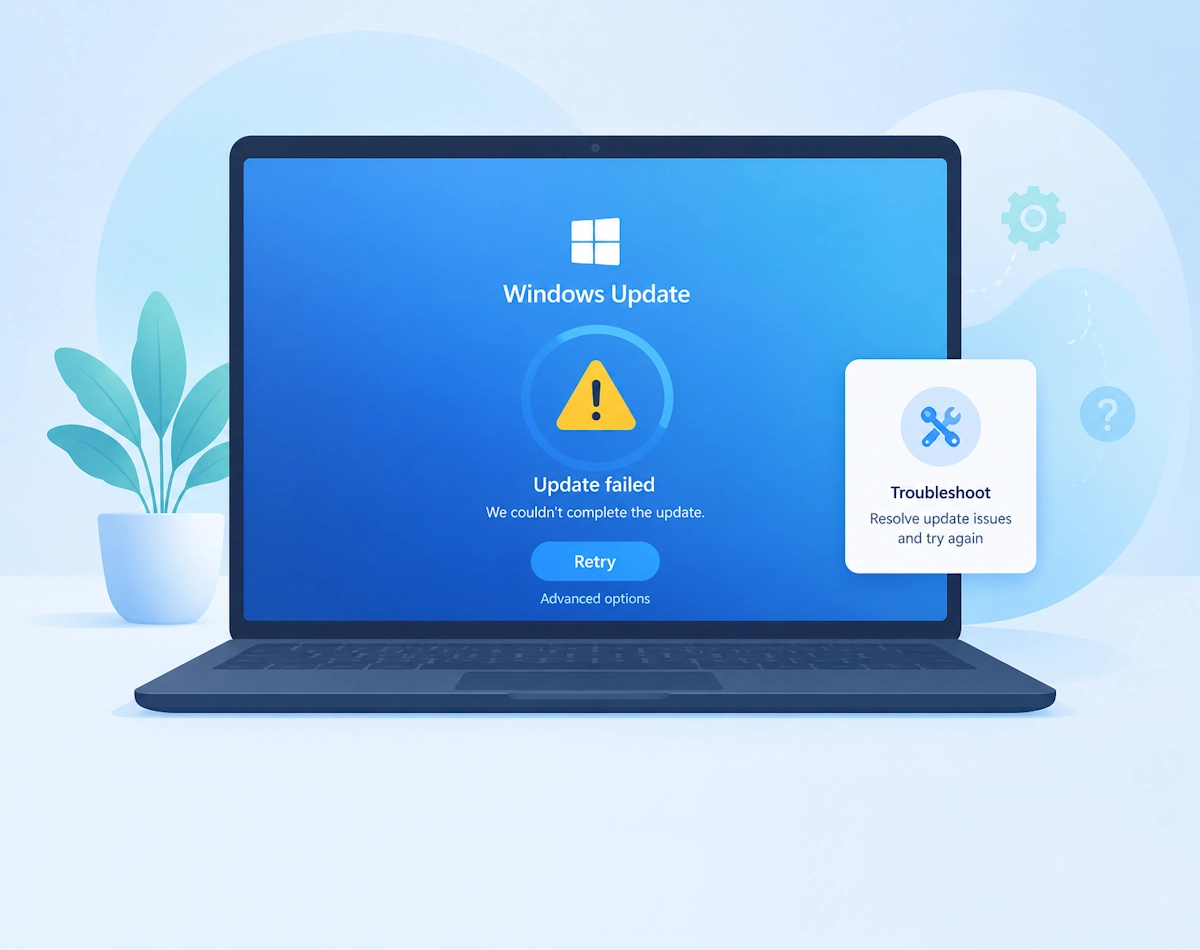
Windows Update Problems are rare, staying up to date, however, is essential for keeping Windows 11 secure and running smoothly. However, updates do not always install correctly. When this happens, you might see error messages, failed downloads, or updates that appear stuck. Fortunately, most problems can be fixed with a few simple steps.
Common Symptoms of Windows Update Problems
You might be experiencing a Windows Update Problem if you notice:
- Updates get stuck at a percentage for a long time
- Error codes such as 0x800f081f, 0x8024a105, or 0x80070002
- Downloads that never start
- Updates that install but repeatedly fail on restart
- High CPU or disk usage caused by the Windows Update service
Step 1: Check Your Internet Connection
A stable connection is essential for downloading updates, therefore, start with these checks:
- Make sure your device is connected to the internet
- Restart your router if the connection is slow
- Try switching from Wi‑Fi to a wired connection if possible
If your connection is unstable, Windows Update may pause or fail.
Step 2: Restart Your PC
Restarting clears temporary files and resets update components, and is one of the quickest ways to resolve minor Windows Update issues.
- Select Start
- Choose Power
- Select Restart
After restarting, try running Windows Update again.
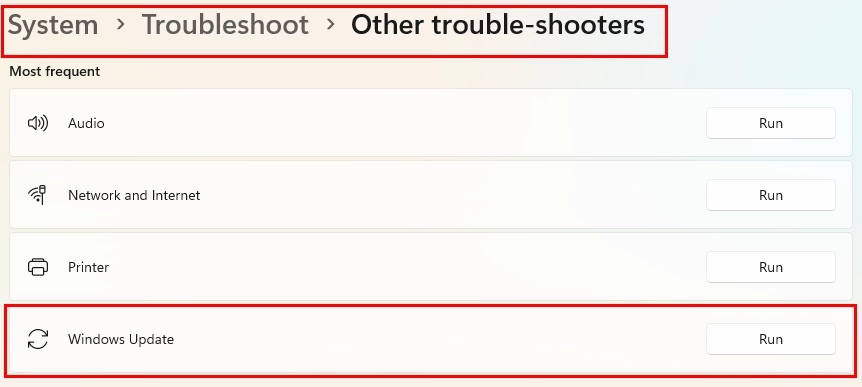
Step 3: Run the Windows Update Troubleshooter
Windows 11 includes a built‑in troubleshooter that automatically detects and then fixes common update problems.
- Open Settings
- Select System
- Choose Troubleshoot
- Select Other troubleshooters
- Choose Windows Update and select Run
The troubleshooter will scan your system and apply recommended fixes.
Step 4: Free Up Disk Space
Updates require available storage. If your device is low on space, updates may fail.
To check your storage:
- Open Settings
- Select System
- Choose Storage
You can free space by removing temporary files, uninstalling unused apps, or clearing the Recycle Bin.
Step 5: Restart Windows Update Services
Sometimes the Windows Update service becomes stuck. Restarting it can help.
- Press Windows key + R
- Type services.msc
- Find Windows Update
- Right‑click and select Restart
If the service is disabled, set it to Automatic and start it manually.
Step 6: Clear the Windows Update Cache
Corrupted update files can prevent new updates from installing. Clearing the cache thus forces Windows to download fresh copies. However doing this requires that you run the Command Prompt in ‘Administrator Mode’
- Press Windows key + R
- Type cmd
- Press Ctrl + Shift + Enter simultaneously.
- Click Yes in the confirmation prompt.
- Enter the following commands one at a time:
net stop wuauserv
net stop bits
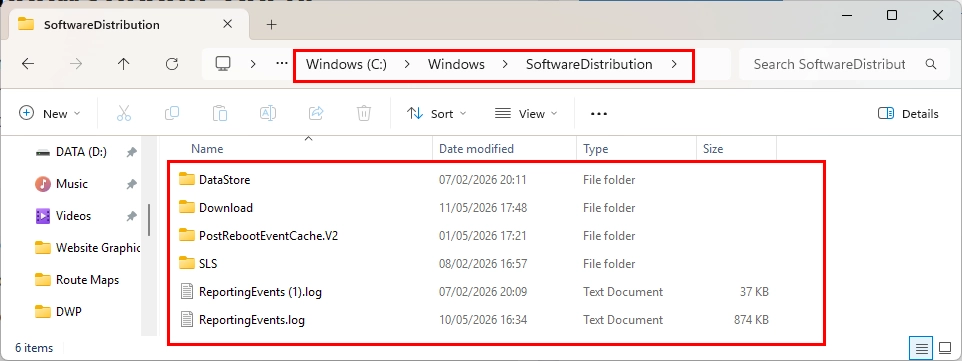
- Open File Explorer and go to:
C:\Windows\SoftwareDistribution
- Delete all files inside the folder
- Return to Command Prompt and restart the services:
net start wuauserv
net start bits
After clearing the cache, run Windows Update again.
Step 7: Check for Corrupted System Files
Corrupted system files can interfere with updates, however, Windows includes tools to repair them.
Run System File Checker
- Open Command Prompt as administrator (Lines 1-4 only in Step 6)
- Enter:
sfc /scannow
Run DISM
If SFC finds issues it cannot fix, run DISM:
DISM /Online /Cleanup-Image /RestoreHealth
After both scans are complete, restart your PC and try updating again.
Step 8: Pause and Resume Updates
Pausing updates forces Windows to refresh the update queue.
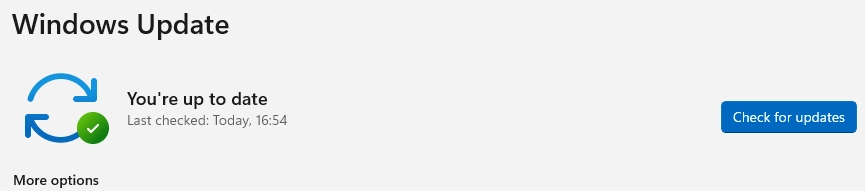
- Open Settings
- Select Windows Update
- Choose Pause for 1 week
- Wait a few seconds
- Select Resume updates
This often resolves stuck downloads.
Step 9: Install Updates Manually
If a specific update keeps failing, you can download it directly from the Microsoft Update Catalog.
- Visit the Microsoft Update Catalog
- Search for the update code (for example, KB5034123)
- Download the correct version for your system
- Install it manually
This method bypasses the Windows Update service entirely.
Step 10: Reset Windows Update Components
If all else fails, you can reset the entire Windows Update system. This is more advanced but often resolves persistent issues.
Microsoft provides an automated script for this as part of their troubleshooter tool, or you can reset components manually using Command Prompt however, the tool is a failsafe way to do this. This process reinstalls update services and clears all cached data.
When to Consider a Repair Install
If updates continue to fail after all troubleshooting steps, a repair install may be necessary. A repair install keeps your files and apps while reinstalling Windows 11. It is therefore a safe way to fix deep system issues without losing data. The script is part of a Windows Update Troubleshooter tool that is available from Microsoft here
Final Thoughts
Windows Update problems can be frustrating, but most issues have straightforward solutions. By following the steps above, you can usually get updates working again without needing a full reinstall. Keeping Windows 11 updated ensures better performance, improved security, and access to the latest features.
For more great Windows 11 tips and advice, visit our Index Page