Virtual Desktops and How to Use Them Effectively in Windows 11
Virtual desktops in Windows 11 are one of the most underrated productivity features available to everyday users. They allow you to create multiple separate workspaces on a single PC, which helps you stay organised and focused. Instead of piling every window onto one screen, you can spread your tasks across several desktops and switch between them instantly.
What Are Virtual Desktops?
A virtual desktop is essentially a clean workspace that holds its own set of open apps and windows. You can have one desktop for work, another for browsing, and another for entertainment. Windows keeps these spaces completely separate, so you only see the apps that belong to the desktop you are currently using. This separation makes multitasking far easier and keeps your main screen clutter free.
Why Use Virtual Desktops?
Virtual desktops are ideal for task separation. For example, you might keep your email, documents, and spreadsheets on one desktop while placing your creative tools on another. This mental mapping helps you stay focused because you always know where each group of apps lives. Furthermore, switching desktops is much faster than constantly minimising and rearranging windows.
How to Open Task View
Task View is the control centre for managing virtual desktops. You can open it in several ways:
- Press Windows key + Tab to open it instantly.
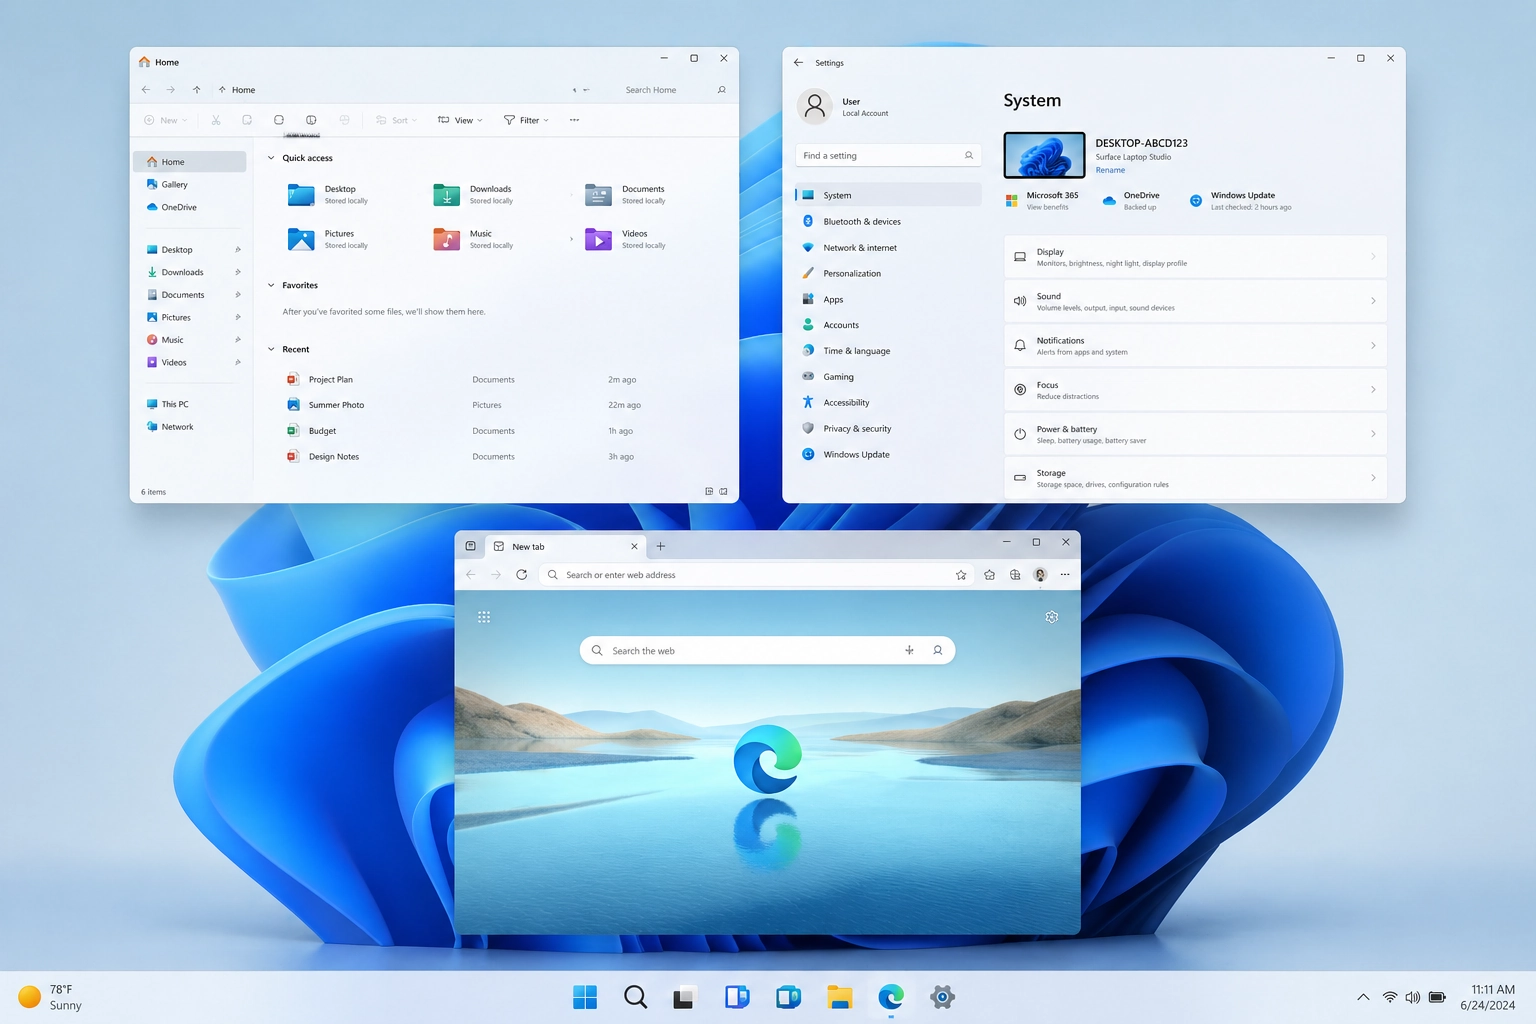
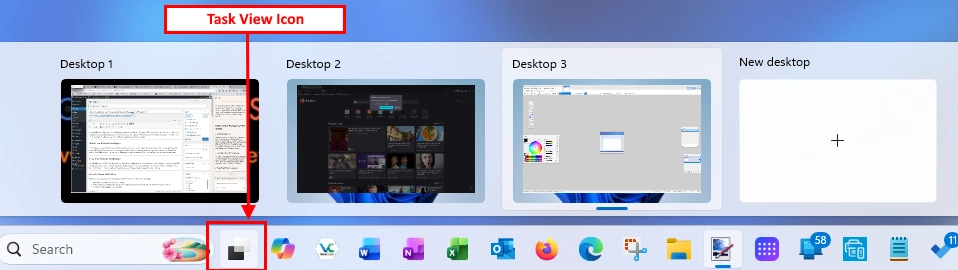
- Click the Task View icon on the taskbar (in the image below). If it is missing, right click the taskbar, choose Taskbar settings, and enable it.
- Swipe up with three fingers on a touchpad.
Once Task View is open, you will see thumbnails of your existing desktops at the top of the screen.
How to Create a New Virtual Desktop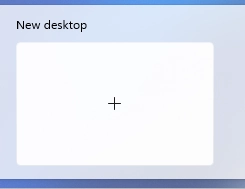
Creating a new desktop is very simple. After opening Task View, click New Desktop on the right side of the desktop row. Windows will create a fresh workspace immediately. You can also use the keyboard shortcut Ctrl + Windows key + D to create and switch to a new desktop in one step.
How to Switch Between Virtual Desktops
Switching desktops is quick and smooth. You can:
- Press Ctrl + Windows key + Left or Right Arrow to move between desktops.
- Open Task View and click the desktop you want to use.
- Swipe left or right with four fingers on a touchpad.
How to Rename and Customise Virtual Desktops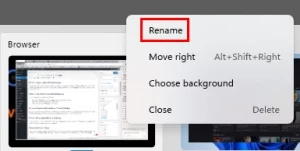
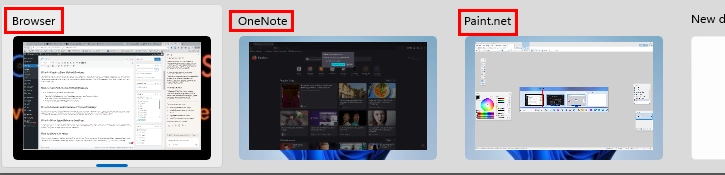
Windows 11 lets you rename each desktop so you can identify them easily. Open Task View, right click a desktop thumbnail, and choose Rename. You can also assign a unique wallpaper to each desktop, which helps you recognise them at a glance.
How to Move Apps Between Desktops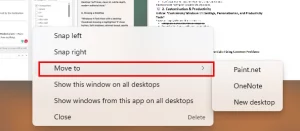
If you want to move an app to another desktop:
- Navigate to the desktop with the app to move.
- Open Task View, right click the window of the app that will be moved.
- choose Move to followed by the destination desktop. This keeps your workspaces tidy and organised.
How to Close a Desktop
When you no longer need a desktop, open Task View and click the X on its thumbnail. You can also press Ctrl + Windows key + F4 to close the desktop you are currently using. Windows will move any open apps to the previous desktop so you do not lose anything.
Summary
Windows 11 Virtual Desktops are a great tool to aid with productivity. Once you have figured out a workflow that utilises multiple virtual desktops rather than Application Windows you’ll wonder how you were ever able to do without them. Getting to grips with them can take a while but the time spent is well worth the investment.
For more great Windows 11 tips check out our Index Page